In this post, I will be guiding you on how to set up the DroidKeylog
Backend app on any hosting service.
Though the setup process is not so complicated and may be tricky for those who
are beginners and never touched PHP
Table of Contents
How to setup DroidKeylog Keylogger
To set up this DroidKeyLog Control Server, you need three things
Before that, You should have a basic Idea of PHP & Mysql Databases as we
connect and make it work.
If not, there is nothing to worry about, as this tutorial will be so easy that
anyone can easily understand and host the script.
I assume that you have Hosting and Domain ready, then follow this tutorial,
you can choose any free hosting service, but I will be picking a paid plan.
If you choose any Free PHP hosting service, you may get a free subdomain
associated with that hosting service, and no need to worry about the custom
domain.
Setting up the Hosting
First of all Login into your Hosting Panel, Since I use Hostinger, I will be
logging into the Hosting Panel.
If you use Hostinger, clicking on Hosting will see the list of
domains hosted by you on that server. You can choose your preferred domain and
click Manage.
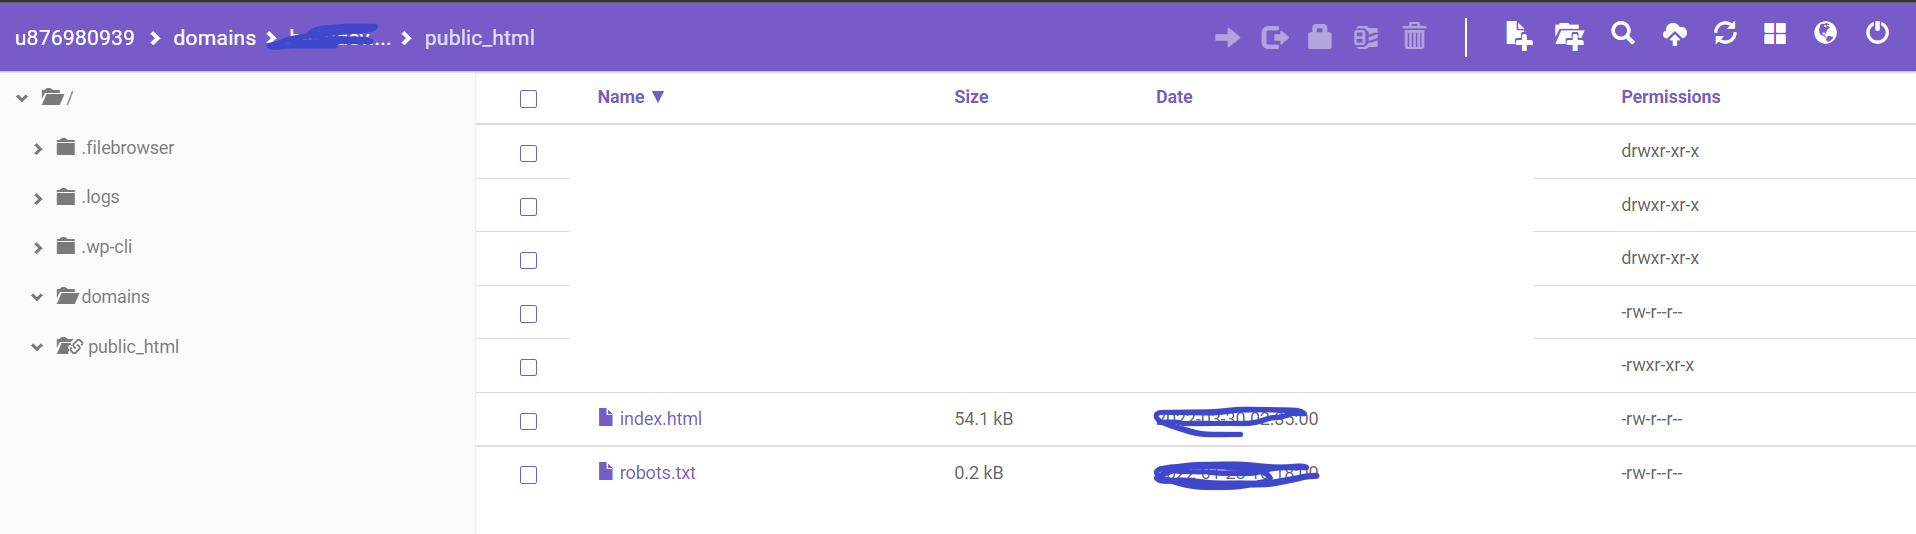
Now search for File Manager and click on that.
After that, browse and navigate to the public_html folder and upload
the zip file you received after the purchase.
You have two choices: you can upload the zip file inside the public folder or
create a folder and keep the files inside it.
I will be creating a new folder klog, and uploading the file inside it.
Note: Most web hosting services offer inbuilt web-based File Managers
with zipping and unzip functionality. If any hosting provider does not support
Online File Manager, you must transfer the files through FTP.
Setting Up the Database
We use MySQL database to handle the data to store and analyse. PHP and MySQL
are the best combinations. That's why I used them for this project.
Now create a MySQL database to store the data. Since I used Hostinger, I will
search for MySQL in my hosting section.
Now create a new database with a username and password.
If the database creation succeeds, you will see the list of Databases. choose
the one you have created and click on Enter phpMyAdmin
Sometimes Your PhpMyAdmin may be located at a different place. As shown below,
you need to figure out that and open the PhpMyAdmin Dashboard.
Now select the database and click on import. Then you will see an
interface like this, select the .sql file and upload. Clicking on the go
button, you will be shown a message like this.
Note:
After the import is successful, You can delete the old key logs data(if any
data already exists) or keep them.
Now our database is ready, and we will set up the database host, DB and password
in the
db.php file.
Connecting with the Database
Making the connection to the database is very easy. It requires the hostname,
database username, password and table name.
I assume that you already have the database name, password and host. I have
already created a DB, and if you did not create one yet, create a MySQL
database from your hosting panel.
Now go to the file manager and search for the files we have already uploaded,
and in the db.php file, set up the database. username, host,
password
$servername = "localhost";
$username= "root";
$password = "";
$database = "keylog";
Now replace the values with your one. The value localhost will work for almost
all hosting services. Still, if your hosting assigns an IP, use that IP in
place of localhost and change the username, password, and database username to
the one you created during database setup.
My Hosting service has a built-in web editor, so I will open dp.php and edit
it. If your hosting provider does not provide an Online editor, locally edit
the file and upload it.
Now Our Server is ready, to confirm this, you can open the website and check
if any error exists or not.
Check Server Setup
Open the web address in any browser, and you will see a message like this.
if you see this message, then the setup is working,
Now Open the admin panel by /admin/
and the default username and password are admin and 1337
After login, you will see the dashboard like this.
Our server is fully ready, and we will set up the client for our Android.
Setting up Client
Setting Up the client With Android Phone
You can use the APK editor to edit the apk file you got during the
Purchase. open the apk file with Apk editor and replace the URL
Follow these steps
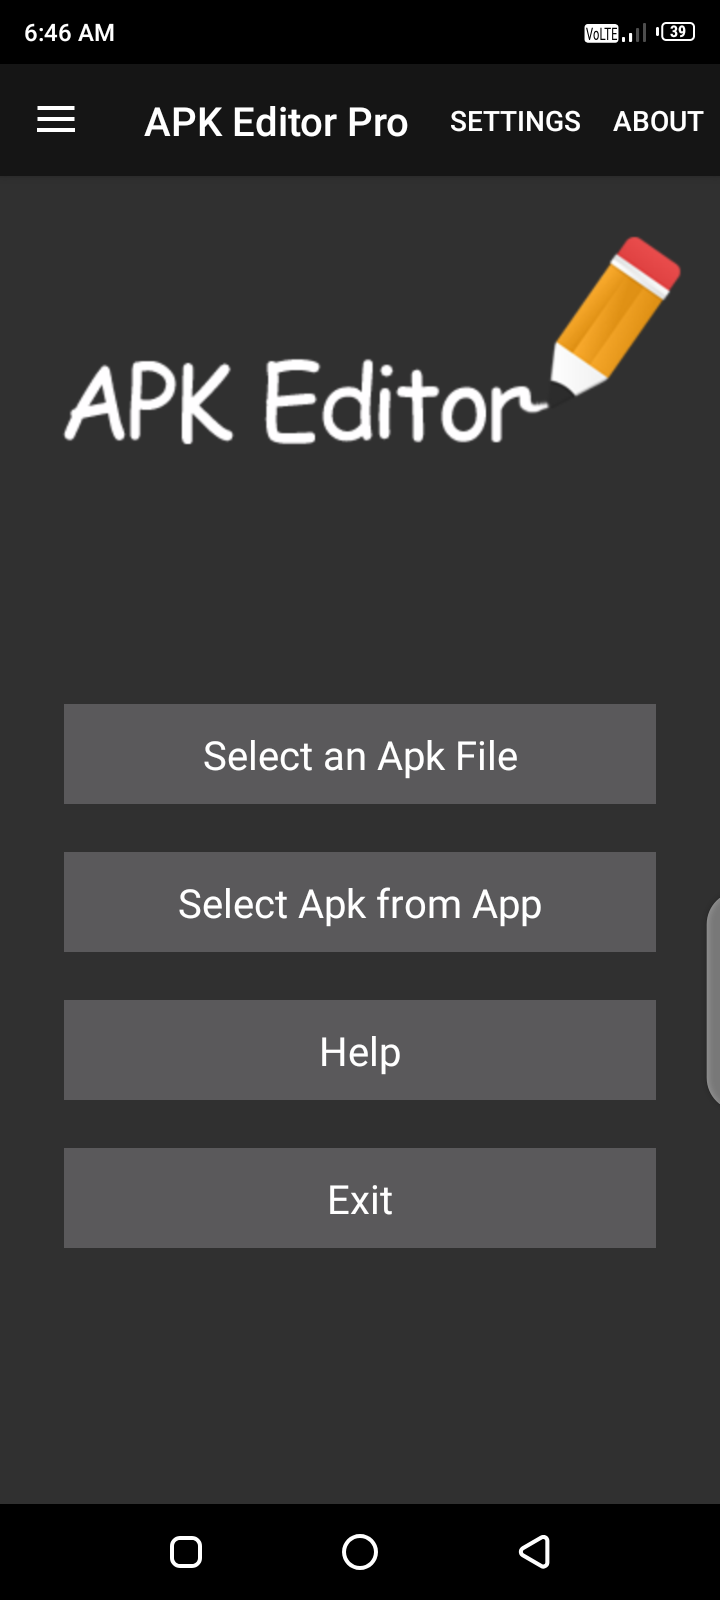
First Download Apk editor app
Open it and click on Select an APK File.
browse to the keylogger apk file(which you got after the purchase)
after selecting it, click on Full Edit, and
Decode All Files
click on Smali
Now you will see a smali folder and browse to \smali\com\system\android\services
Select the
Keylogger.smali file and edit
Search for http:// and replace the URL with your website
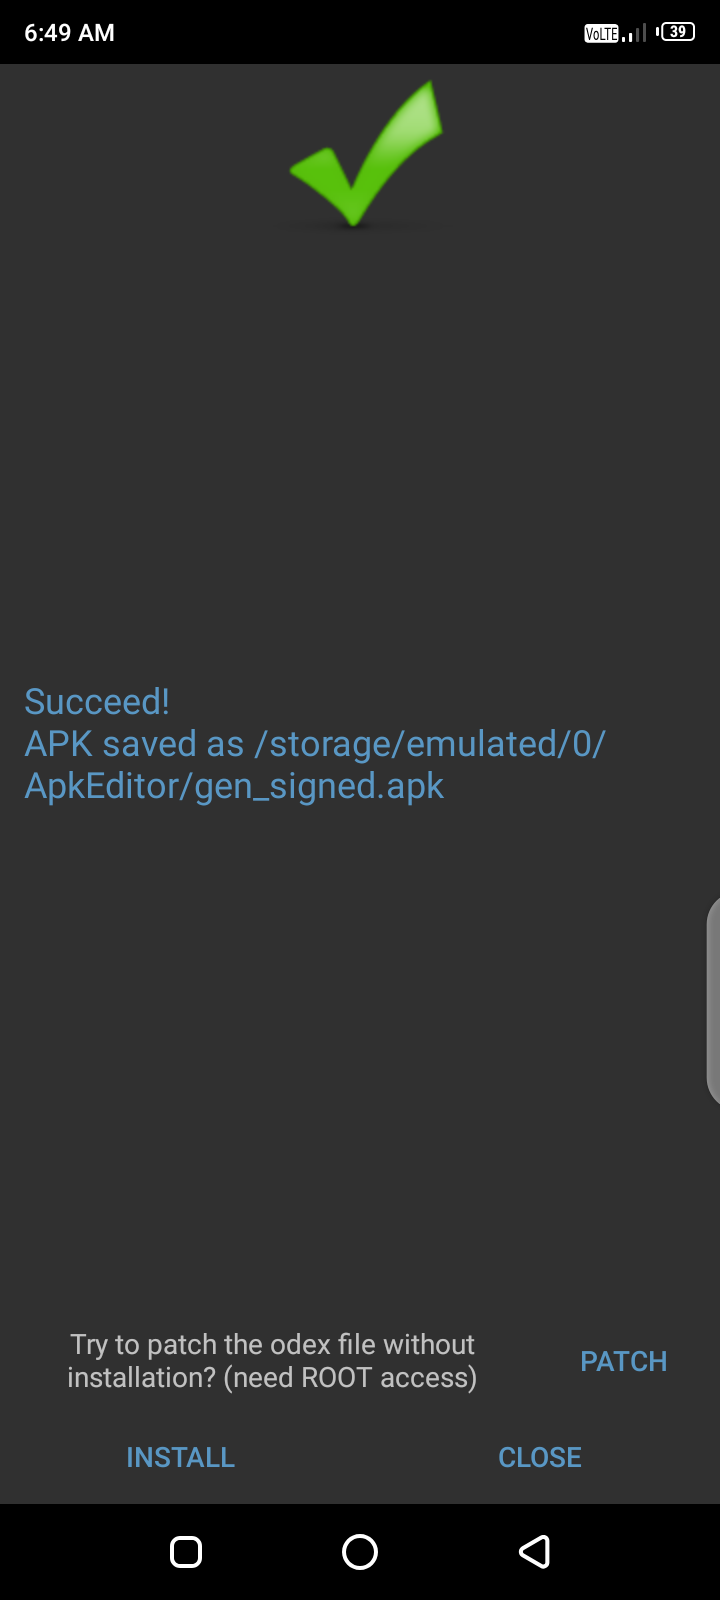
Now save the file and click on Build
It will take some time to build the apk. After build success, open the build
apk, which is located under the APK editor folder,
The apk is now ready to install on the victim's phone.
Setting up the client with Apk Easy Tool.
This section will discuss setting up the client on a Desktop/Laptop.
For that, we need the software called
APK Easy Tool, which is free to
use and also easy to use the tool. You can get the software from XDA
Developers(
Link to the software)
After installing the tool, open the Keylogger apk file, which you can find
inside the zip file( You will receive the files if you have purchased the
project from us)
Then browse the file, select the apk and click on Decompile to decompile the
Apk.
Clicking on Decompiled APK directory will take you to the folder.
go to the path at keylogger\smali\com\system\android\services
There search for Keylogger.smali
after that, open the Keylogger.smali in any text editor and search for
http://
and replace the address with the website address, which you have already
created (also include the directory if you have hosted the files in the
directory)
After that, in the APK Easy Tool, click on Compile. It will take
some time to compile and sign the apk
You can locate the file in Recompiled APKs folder.
You can use that APK to install it on your victim's phone.
Installing on the Victim's phone
After installing the app, open it, and you will be asked for battery
optimisation permission. Allow it
After that, Clicking on System Service takes you to the accessibility
service settings. There you will find System Service. Allow the
permission.
If everything is okay, the setup is ready, and you will receive the log data
at the server-side. Now, log in to your website portal, and you will see the
data.
Final Words
We have explained each step to deploying and using the Droid Keylog Program. If
you followed the steps carefully, then congrats, the program will work as
expected. Still, if you have any queries, contact us on Whatsapp or In the
Telegram Group.
If you want to purchase the program, check out the features first.